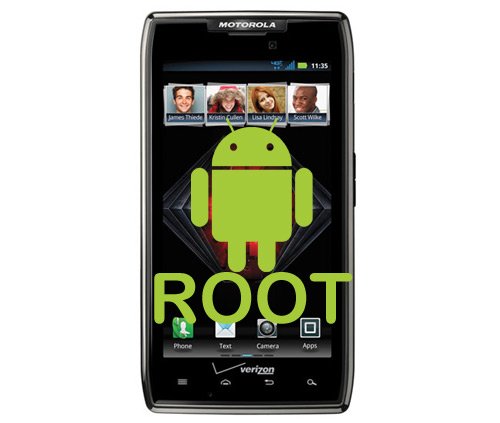
Update Droid RAZR and RAZR MAXX to Android 4.1 Jelly Bean manually
Do you feel enough of a pro to manually install Android updates on your smartphone? If yes, then we will tell you how to install an Android 4.1 Jelly Bean update for Droid RAZR and RAZR MAXX. The guide we propose is based on advice given by one of the members on XDA Developers forum. Everything is official, by the way.
Requirements
However, the tutorial will work as instructed only if your phone is a CDMA one, produced for Verizon. And some other pre-requisites you have to keep in mind: the model you use needs to come with stock Android 4.0 ICS and a microSD card. You need to create backups with the important info, save your messages and then install the OTA root Keeper application (should you own a Razr or Razr Maxx that’s already been rooted at some point) on the phone.
If you feel all prepared for the installation of the Android 4.1 Jelly Bean update on either your Droid RAZR or your RAZR MAXX, then you should proceed to the steps needed for our next tutorial.
Important instructions
- The fun begins with the first step: download the for Droid MAXX/RAZR (the Blur_Version.6.16.211.XT912.Verizon.en.US.zip version). Once you have the file installed, you have to move the archive to the phone’s memory card and afterwards switch your phone off to make way for step number two.
- This one tells you to do the following: restart your device then get into the recovery mode. That action gets to be done if you follow these instructions: keep pressed the buttons for Volume Down, Volume Up and Power for few seconds. Then you must opt for Recovery with the buttons labeled Volume by selecting the choice in question using the Volume Down key and the Volume for selection.
- [sc name=”banner-jos”]Step 3: wait until you see the Android icon on the touchscreen. When you spot it, you need to keep selected for about 5 seconds the keys for Volume Down and Volume Up. The phone will boot into recovery mode.
- For the fourth step, do this: opt for Wipe Cache.
- Step number five asks you as follows: accept the requirement from the previous step and next choose Install ZIP from external SD Card. No worries here: data won’t be wiped. Now find the Blur_Version.6.16.211.XT912.Verizon.en.US.zip file and watch as it starts the installation.
- The sixth step means another phase of waiting, because the handset is going to restart four or five times before your eyes. But, at the end of it all, your Droid RAZR or your RAZR MAXX will have the Android Jelly Bean update installed on it.


