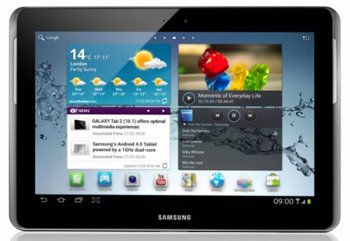
Update Galaxy Tab 2 10.1 P5100 to UBDMD1 Jelly Bean 4.1.2 Official Firmware
UBDMD1 is what we chose for the update of your Galaxy Tab 2 10.1 P5100 to Android 4.1.2 Jelly Bean.
If you’re not at your first post of this kind, you will now see what pre-requisites to pay attention to: turn on USB debugging, make a backup using our instructions (the data that is now on the tablet’s internal memory needs to be backed up to an external SD card), use a comp with Windows as its OS (make use of CrossOver Utility if your laptop runs Linux or Mac instead), use the Galaxy Tab 2 10.1 P5100 which is bootloader + factory unlocked, charge the battery of the gadget and flash USB drivers for this particular model on your notebook.
Installing instructions
- For starters, download and save these files on your PC: and Odin tool archive. What these files contains needs to be on the desktop of your laptop; so unzip each of the archives.
- Switch the tablet off. Now enter it in Download Mode like this: press and hold, at the same time, Volume Down and Power, then Volume Up as soon as the gadget shows you the logo for Android.
- Run Odin 3.07.exe, the file which belongs to the Odin 3.07 archive, as Administrator by right-clicking on odin.exe and then on “Run as administrator” as soon as you’re in the context menu.

- The two gadgets that you use for this guide will have to be plugged to one another, so do that now; the entire process will go well if “Added!!” and an ID:COM box in yellow together with a COM port number happen one after another. If the process is not successful, then choose a different USB port; or you can try flashing the USB drivers one more time.
- The move you need to make after the above is performed: choose some files. Here are the keys you have to click on for that:
– PDA, then opt for a file which boasts CODE in its name;
– Phone, then choose a file with MODEM in its name;
– CSC, afterwards opt for the file that has CSC in its name;
– PIT and select a file with .pit as its extension. - Have the following options activated: F. Reset Time and Auto Reboot. The box with Repartition on it needs to be opted for if you’ve already chosen the .pit file. Tap on START now, then allow the installation of the UBDMD1 to happen.
- [sc name=”banner-jos”]When the flashing is over, the Galaxy Tab 2 10.1 P5100 is going to reboot. The tablet can be unplugged from your notebook after you see PASS and a green background on the display of the tablet.
The Android 4.1.2 JB build UBDMD1 is now on the gadget’s “About tablet“.
If the tutorial did not go as well as you’d hoped, you can use the solution we have for you. So, if your tablet happens to be stuck in the logo of its manufacturer (or in boot animation), you should do as follows: go to the Recovery Mode and from there operate Factory reset/Wipe data and after that Wipe Cache Partition. As soon as these two operations are done, you can opt for the system restarting.


