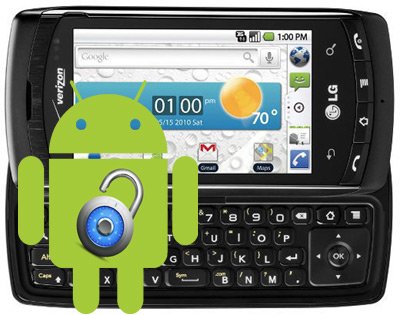
How to Unroot LG Ally VS740
At first glance, LG Ally VS740 is not the kind of handset which has a lot of following. But for its owners who want to know how to unroot it in a quick and comfortable way, we have just the guide for all intents and purposes.
If you rooted this phone with a tutorial coming from us, then you’re almost all set. “Almost” because there are still some pre-requisites you need to attend to. Download and first, then use a laptop which features Windows.
Important instructions
- Here is how the unrooting comes to be. After you download the files, you have to move all of them on the laptop’s desktop and perform the installation of the official LG drivers on the laptop.
- Once this done, you need to unzip the Root Pack into a dedicated folder, then see if there’s a directory called LGNPST which contains files must be present on your laptop. After you see them, do the following: install them like this
LGNPST_General_v1.2_Lab_Version .msi
LGNPST_Components_Ver_4_0_22_0 .msi
LGNPST_GenericModels_Ver_4_0_9_0 .msi - Now you should move the LGNPST .exe to C partition into LG Electronics>LGNPST folder and then look for a shortcut called LGNPST; it will be on the desktop and you have to erase it. After you’re done with that, go to C:/LG Electronics/LGNPST and select the LGNPST.exe file.

- Next phase: opt for Send to and then select the Desktop (and simple create a shortcut in Windows) option. Move the VS740 .dll from the dedicated directory where the archive was unzipped to this location C:/LG Electronics/LGNPST and launch the Command line in Windows when you are in the C:/LG Electronics/LGNPST folder using the Start>Cmd method.
- What you need to do now is opt for Open the Windows command line here and afterwards enter
regsvr32 VS740 .dll
via the Command line. Wait for a popup message on the display. - When you see it, the file has just been registered and you can now execute the LGNPST file via the desktop’s shortcut.
- Activate the USB Debugging using the Menu>Settings>Apps>Development. Now select USB Debugging and plug the LG Ally to the laptop; the phone is going to appear into the LGNPST application and when it does you are required to click on the phone’s logo and select File.
- After that remember to opt for Choose DLL and tap on the VS740 file.
- Go to the tab called Provision, select Upgrade and opt for BIN File.
- Next: choose BIN (this is located in the LGNPST directory on the desktop). Enter *.* using the Open BIN interface and click on VS740ZV6_01.TOT.
- This should be followed by the next operation: tap on Open and check the option near to SCR File area.
- [sc name=”banner-jos”]Find the directory section; upon locating it you have to access the LGNPST then, into it, the SCR directory and then, the VS740ZV6_01.SCR.
- Tap on Open and see whether or not NAM2 is activated, then activate it via the option near to PRL. After that you must select the folder logo which is located near the NAM1. Opt for the PRL directory and choose 58005 which is the OEM EVDO DEFAULT .PRL. Tap on Open and then on Start via the same tool.
- After you perform this operation, the unrooting of the LG Ally VS740 will start. You will have to wait around 25 minutes for it to end.
- What’s left now is to switch the phone off, take its battery out and put it back in (but leave the handset switched off). Here are the last actions you are prompted to perform.
- First: keep selected at the same time the Home, Volume Up and End for about 5 seconds. Then restart the handset’s into the Normal Mode.
- Dial *228# now.
- Opt for Option #2 and dial *#*#CHECKIN#*#* . OTA updates are now featured on your LG Ally VS740 which is finally unrooted.


