Install Jelly Bean 4.1.2 DDULP8 Official Firmware on Galaxy S Advance GT-i9070
We are here today to show owners of Samsung Galaxy S Advance I9070 how to effortlessly update it to Android 4.1.2 with official DDULP8 firmware. This is an instrument thanks to which you will get access to features such as improved stability, TouchWiz user interface, Google Now and so on. You can also count on fewer freezes compared to the older version, which is a major plus.
Be careful of the following: only your Galaxy S Advance GT-i9070 is going to work well with the DDULP8. Don’t use any other smartphone for this tutorial; or another firmware for that matter. Also, be sure to consider the requirements and the indications we will deliver in this post soon.
Requirements
So
here we present you with the requirements that apply to this phone: turn off the handset’s and your laptop’s programs that assure they aren’t attacked by viruses and such, take a look at the battery icon and charge the unit if it needs that and create backups which need to be made of the data on your smartphone (make a NANDroid backup, as well, using this guide).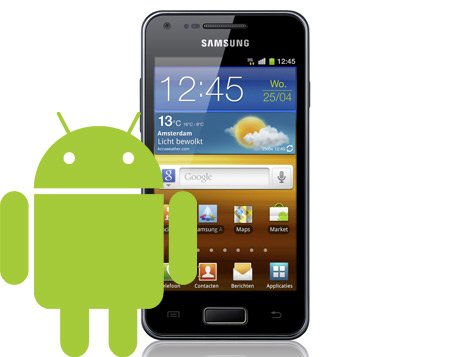
Important instructions
- Now let’s observe the instructions we promised above. This guide starts with the following prompts: download the on your notebook, then Odin tool on the same device.
- A mode known as Downloading will need to be entered by your device; before you perform this, be sure to power the Galaxy S Advance off, then enter the smartphone in that mode by doing as follows: press and hold, at the same time, Power, Volume Down and Home.
- As soon as the display of the phone shows a message of downloading, you’re all good and ready to move on with the guide.
- What needs to be done now is this: use the USB cord of the GT-i9070 to help it connect to your notebook as easily and as quickly as possible; that is going to be accomplished after you see “Added!!” and an ID:COM box displayed in yellow. In case of trouble, you need to flash the correct USB Drivers on your comp again.
- Then use your PC to open the Odin file on it. The next task that you have to concentrate on needs you to do the following: click on PDA; opt for the previously downloaded firmware archive.
- The moment you are done with the previous actions, you should select F. Reset Time and Auto Reboot, then tap on START. Watch, now, as the DDULP 8 finds a place on your smartphone.
- As soon as the flashing comes to an end, you need to have patience: your handset shall reboot, then PASS will pop on its touchscreen for you to see. Should “fail” happen, do as follows: leave Odin, unplug the handset from your laptop, take the former’s battery unit out, put it back in and repeat our guide.
- [sc name=”banner-jos”]Now have your i9070 powered off. Boot it afterwards into Recovery Mode via Home, Volume Up and Power, three keys that need to be pressed and held at the exact same time for the booting to go well. These two options have to be chosen now: Factory Reset / Wipe Data and Wipe Cache Partition.
- After the handset’s data is erased, you need to opt for the system restarting. Wait for the first of boots to happen. The smartphone will then experience, for the first time ever, an improved and fresh Android 4.1.2 JB operating system. Remember the features we talked about in the beginning of our tutorial? You are now able to experience them for yourself, so go and do that!


