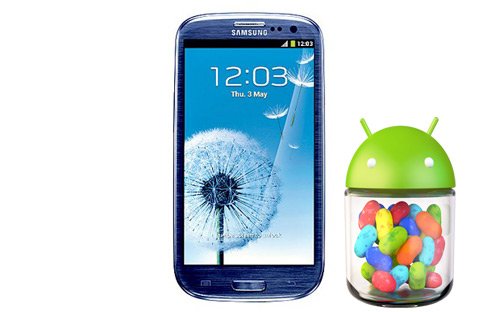
Flash Android 4.1.2 Jelly Bean VRBMA2 Firmware for Galaxy S3 SCH-I535 (Verizon)
Can Samsung Galaxy S3 SCH-I535 for Verizon be flashed with Android 4.1.2 Jelly Bean in a fast and easy way? Sure it can, we even have the right tutorial for it.
Requirements
Things to do before proceeding to the update: the phone needs to run on a bootloader that has been unlocked, the contacts in it need to be synced with your Google account, you will be asked to turn off the antivirus software installed on the computer you have, to install USB drivers on the laptop, to create a backup, to look at the battery icon and if it’s empty charge it, to turn Samsung Kies off and to switch USB Debugging on.
To flash Android 4.1.2 Jelly Bean VRBMA2 firmware on your Galaxy S3 SCH-I535 (Verizon version), first you’ll have to install the default Factory Image for it, then install ClockworkMod Touch Recovery or TWRP Recovery and, finally, root the ROM and unlock the phone’s bootloader.
1. How to flash the stock Factory Image
Here’s the tutorial on how to flash the stock Factory Image.
- Download Odin tool archive and extract all the files in it; then save it to the laptop (its desktop) and with NO DATA WIPE. This file also needs to be saved on your computer.
- Turn the handset off and open the ODIN. Boot the S3 I535 into Download mode; press and hold Home, Volume Down and Power for this to take effect and let go of these keys once you see “Warning” on the display; press Volume Up to complete the step.

- For step 3 you need to use the USB cord of the smartphone to have the latter and the laptop attached to each other. When you see “Added“, the devices have connected successfully.
- Tap on PDA. Next: load the VRBLK factory image tar.md5. Press Start.
- Watch as the phone restarts at the end of the installation process. Disconnect the handset from the laptop once that happens.
- The Galaxy S3 SCH-I535 is going to boot.
2. Install a custom recovery image
The steps on how to install a custom recovery image are as follows:
- First download either or . Switch the handset off, then open Odin from the folder you created above.
- Boot the phone into Download mode for the second step. Have the two devices plugged to one another and then wait for “Added” to make an appearance. Tap on PDA, look for the tar.md5 file and press Start.
- The handset will reboot after the installation of the recovery is done. You should now unplug the USB cable from the phone and the computer. Turn the laptop off like this: select the buttons labelled Home, Volume Up and Power, let go of Power once the display comes to life but keep your finger pressed on both Home and Volume till you see the Recovery Mode; this means that the CWM Recovery or the TWRP Recovery is installed.
3. Root the ROM and unlock the bootloader
Below you have our guide on how to root the ROM and unlock the bootloader.
- [sc name=”banner-jos”]Download . Connect the Galaxy S3 I535 to the laptop and copy the Root archive to the phone’s memory card. Your concern right now is to make sure that the phone is no longer glued to your computer once the copying went well. Switch the smartphone off.
- Step two: by pressing + holding Home, Volume Up and Power and then releasing Power after the display turns on (make sure not to let go of Volume Up and Home in the meantime), the phone will boot into Recovery Mode. Opt for installation of the archive from the memory card.
- Opt for Choose zip from SD card.
- When you’ve located the SuperSU Bootloader zip file, you’re free to confirm that you want to install it. Go back, at the end of the installation phase, to the phone’s Recovery Menu and choose the system restarting.
After the Galaxy S3 SCH-I535 starts into normal way, the Android 4.1.2 Jelly Bean VRBMA2 firmware will have been installed at last.


