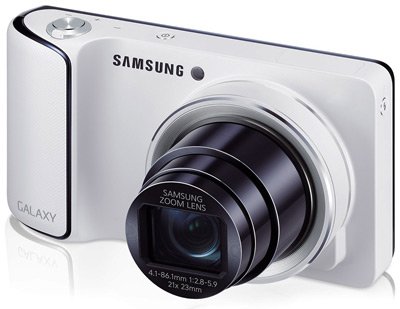
Update Galaxy Camera EK-GC100 to UBBMB1 Android 4.1.2 Official Firmware
Samsung have never come with an update for their Galaxy Camera EK-GC100. A developer did and he named it UBBMB1. He also announced that it would help update the device to Android 4.1.2 OS. And we will tell you how to do that via this little guide of ours.
Requirements
Let’s find out what the requirements for such a tutorial are:
- turn on (on your camera) USB Debugging;
- create a backup using this guide;
- use Samsung KIES;
- charge the handset’s battery;
- install USB Drivers for this camera on your laptop;
- use a factory unlocked Galaxy Camera GC100;
- should your device sport either TWRP or CWM Recovery, then employ a backup that uses it;
- download, on your computer, and Odin tool.
Because the UBBMB1 is official, you will see that you won’t have root access after this tool is on your device. To reverse that, simply use a tutorial on how to root this device.
Important instructions
In order to update the Galaxy Camera EK-GC100 to UBBMB1 official firmware, you must follow the steps below. Here they are.
- For step one you need to unzip the archive that comes with the Android 4.1.2 GC100UBBMB1 on your laptop. Then turn the device off so that you can enter it in Download Mode as shown in the second step.
- Here is how this one goes: find the buttons called Volume Down and then press + hold them at the same time; then press Power and the logo of the South Korean manufacturer will appear on the camera’s display. When that happens, or you see the Android logo, then all’s good. You can now launch ODIN tool on your laptop.
- Then proceed to step number three, which says the following: plug the Camera GC100 to the comp and then wait for this operation to end in a success; which will be shown by the following: an ID:COM box shall go yellow and a number which is the COM port will come on-screen.
- For the fourth step you should take a look at the four files below. They need to be installed on your device. But, if you don’t see them, no problem; just move on to the fifth step. Coming back to this step, here are the files you need to watch out for:
– click on PDA and you should see a file with CODE in its name;
– click on Phone and there needs to be a file containing MODEM in its name;
– as soon as you click on CSC, a file bearing CSC in its original name should appear on the display;
– click on PIT and you will see a file called .pit. - [sc name=”banner-jos”]As we mentioned, here is step five if none of the files appears on the display of the camera: check F. Reset Time and Auto Reboot. In case you did see the .pit file from above, then also check Repartition and then click on Start when you’re done.
- Step six sounds like this: now that the installation of the update is over, the Camera GC100 should restart.
- Wait for the device’s home screen to appear, then disconnect the device from your laptop.


