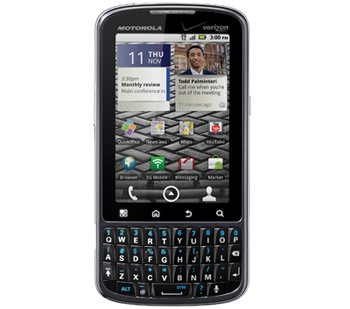
Guide: Root Motorola Droid Pro
Lately we’ve concentrated on how to flash updates on various types of smartphones and tablets. But in today’s editorial we will tell owners of Motorola’s Droid Pro how exactly the rooting of their handset works.
We thought about doing such a tutorial because owners of this handset complained about it working with Android Gingerbread instead of the latest Android version.
So what better solution than to root the phone. By the way: it’s not rocket science, so every kind of gadget consumer can join in the fun, whether you’re new at this or very used to it all. The trick lies in the following pieces of advice: follow the pre-requisites we will detail soon and the steps that make this guide what it is.
Requirements
The requirements you must educate yourself about are these: , charge the battery of the phone, generate a complete backup and get the warranty back (after you’ve finished rooting the device) by performing an unrooting procedure for the Droid Pro XT610 (which is also discussed here at DroidGator).
After you’ve finished reading all about the necessary preparations, the steps required for the rooting of your phone will come next.
Important instructions
- The first of them makes an appearance by instructing you to do as follows: after the file we mentioned in our pre-requisites is on your laptop’s desktop, you should use the phone’s USB cord so that the device is connected to your laptop. This will take only a few seconds; so wait for the process to complete and then simply take the z4Root APK file from the computer to the Droid Pro memory card (if you have problems finding this file we mentioned, you will see it’s in the first folder sitting at the top).
- [sc name=”banner-jos”]The second step will tell you to take the USB cable out of the handset so that the two devices are no longer plugged to one another. Your next task is the following: find the File Manager app (it’s on the smartphone), launch it and then install the APK file.
- When you’re done with these actions, the third step will need this from you: go to the APK file and simply open it (it is located in the phone’s App Drawer). Once this is performed by you, you will then have to use the button called Root by tapping on it. This way, the Droid Pro is going to get rooted.
- The final step, the fourth, will ask the following: reboot the smartphone and you’ll be done. It’s now time to take full advantage of your newly rooted Motorola Droid Pro XT610!


