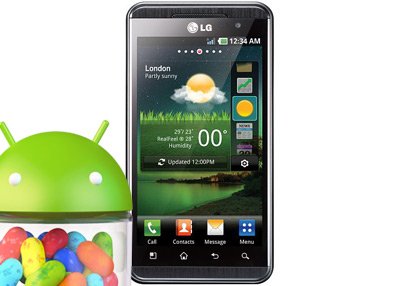
Update LG Optimus 3D P920 to Android 4.2 via JellyBam ROM
When LG thought of releasing their Optimus 3D P920, the people who bought it waited and waited and waited for a Jelly Bean update. Which did not come at all in the end. So in today’s post we are going to let you in on a little secret: how to upgrade this handset to Android 4.2 so that you can afterwards enjoy a lot of welcome changes.
In consequence we will use, for our purpose, a tool known among developers by its JellyBam ROM name. You can employ this tutorial with confidence, since the end process will not harm your smartphone with bugs or other security issues once you finish following all the steps it includes.
In order to have everything go as smoothly as possible, you need a laptop complete with a Windows operating system, a customized recovery image flashed on it, several backups of your handset, a full battery charge and USB Debugging turned on on your smartphone. Then you have to turn off every single security program on the handset (and on your notebook) and go through a rooting process after you are done.
The warranty that will be lost the second you are done with the guide can be restored like this: perform an official update using the manufacturer’s very own software. Here is the guide that will make sure you update your LG Optimus 3D P920 to Android 4.2 via the JellyBam ROM.
Important instructions
- Step number one tells you that you on a laptop online. Next up: connect your phone to your comp.
- Step number two needs the following to be operated: the file that you just downloaded should be moved to the smartphone’s memory card. Then you will be required to take the USB cable out of the phone.
- Step number three asks you to switch the Optimus 3D P920 off and restart in recovery mode once you are done.
- The fourth step asks the following of you: make a backup, then to opt for Factory reset/Wipe data, present in the Recovery menu.
- Step number five needs you to choose the option called Wipe cache partition. After this comes the next operation, for which you are going to have to tap on +++go back+++ and opt for the installation of the zip archive from the SD card. After this is over, select something labeled Choose zip from sd card.
- For the sixth step you will select the update file that’s located into the SD card.
- Step number seven you will have to perform the same installation on the handset, then choose +++go back+++.
- Step number 8 instructs you to opt for Reboot system now. Your LG Optimus 3D P920 is now rooted.


