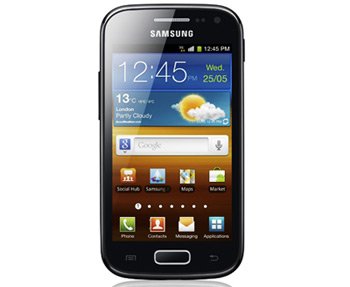
How to Update Galaxy Ace 2 I8160 to Jelly Bean 4.1.2 XXMH1 Official Firmware
Your newly bought phone, namely Samsung’s Galaxy Ace 2 I8160, is faced with the possibility to make you even prouder. This possibility comes under the name of XXMH1 Android 4.1.2 Jelly Bean official firmware. But make sure you live in either the UK, Austria, Germany, Hungary, Belgium, Spain, France or Spain. These are the only regions (for now) which accept this kind of tool.
The update file we keep mentioning has the ability to bring the sort of new stuff which will only make your smartphone give off an enhanced performance. But the novelties also include features you’ve never experienced before, ways to customize your phone, new apps, a battery whose life is much more generous, improved performance and the such.
Requirements
The update is in need of some very important pre-requisites first. Here is what they look like:
- charge the battery of your phone;
- enable, on your device, USB Debugging;
- download and install USB drivers for the handset on your notebook, from here;
- your smartphone should be the factory unlocked version for this guide;
- create backups via one of our tutorials.
Because we opted for firmware that is all official, your Galaxy Ace 2 won’t have root access anymore (in case you’ve rooted it). So pay attention to that and root your smartphone again once you are done with this update tutorial.
Instructions
For now on, though, it’s best to concentrate on the steps coming up next.
- Here is how the first one should go about: download Odin tool version 1.85 from here and on your notebook or personal comp, unzip solely the second file and then power the handset off so that it can successfully enter Download Mode;
- To boot it into the Download Mode, you need to simultaneously press + hold Volume Down and Home, press Power on its own and, when you spot a message saying “downloading”, stop pressing that button.
- Next thing to do: launch the Odin on the laptop and after that plug the handset to the notebook or your PC. A successful connection happens in the following case: “Added!!” lands on the display and an ID:COM box port becomes all yellow.
- If nothing like we just described happens, then reverse the situation by either using another USB port or by re-installing the USB drivers from before.
- Then choose a number of files after you tap a bunch of buttons as displayed next: click on PDA first, then opt for a CODE file, tap Phone, select a file that comes with MODEM in the name, click on CSC, make sure you opt for a file which sports CSC in the name, then tap PIT and choose a file with a .pit extension in the name.
- [sc name=”banner-jos”]The following instructions should be observed next: select some boxes which have Auto Reboot, Repartition and F. Reset Time close to them. The box with the Repartition sign needs to be checked only if the file with the .pit extension was chosen.
- Continue with these tasks: tap “Start“, wait for the update firmware to be on your phone, then have patience till you see the latter reboot. Once the device’s home screen is also present, you need to disconnect the devices from one another and then go to Settings, open About Phone and meet your new Android 4.1.2 build XXMH1 firmware.


