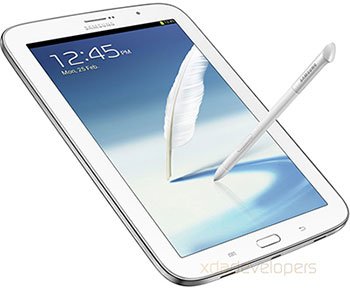
How to Update Galaxy Note 8.0 LTE GT-N5120 to Android 4.2.2 XWCNA1
No matter where you live, your Galaxy Note 8.0 LTE GT-N5120 can be upgraded to Android 4.2.2. We provide the means of performing the update, so all you have to do is read our tutorial.
The device is required to have Android 4.2.2 if you plan on using it to its full potential. XWCNA1 is the official firmware which was launched last month for your gadget and whose role is to bring this OS version. This firmware can be installed on your device no matter the country you live in. But remember to only use the Samsung N5120 instead of a different gadget. Or you will end up with a damaged product.
The new XWCNA1 doesn’t allow you to use KIES as a way to update your tablet PC. However, the upgrade can be performed if you opt for OTA (over-the-air) or this tutorial. In case you choose the over-the-air variant, the device has to run stock ROM. If there’s nothing of the sort on your gadget, you can still use our guide.
The novelties
The update will take its toll if the device comes with root access. After the procedure ends, the latter shall be revoked. Another consequence of having a rooted gadget updated: its system partition will be erased. The phone’s internal / external SD cards and important data can still be used: they won’t be affected by the new operating system.
There are many new and important things to enjoy as soon as the Galaxy Note 8.0 LTE GT-N5120 receives the new update. They have to do with a new set of sounds for wireless charging and a new Gallery app, to name a few of the goodies. Others include a USB debug white-list and customization options. There’s also the option of long-pressing the WiFi Bluetooth icons in Quick Settings in order to be able to toggle the on/off state. Moreover, your gadget will have a new set of download notifications and low battery bug fixes. Bringing up the rear is better Bluetooth audio streaming.
Prerequisites
Now that you are aware of the benefits of an upgrade, let’s continue with some pre-requisites:
- your phone’s and then your notebook’s security programs will have to be turned off;
- find, over here, USB drivers to download on your laptop;
- the notebook’s operating system must be Windows;
- create backups (the regular kind);
- then make sure to create a full NANDroid backup;
- the Galaxy Note 8.0 GT-N5120 needs to run with an activated USB Debugging;
- charge the battery of your device.
Step by step instructions
The upgrade will deal with some steps.
- The one to introduce this guide tells you to go to certain sites and download two essential packages on your laptop. Here are their names: Odin v3.09 and the .
- You will discover the latter on this page; the first one can be found over here. When you’re done with the download, extract the packages and you will end up, among others, with this file: Odin v3.09.exe.
- We recommend opening that file on your notebook, then entering the gadget in Download Mode. To enter this mode, you should first press and hold, at the same time, these buttons: Home, Power and Volume Down. The display will very soon have a boot message on it. Your job, upon seeing it, will be this: press Volume Up.
- Then do as follows to create a connection between the device and your laptop: take the former’s USB cord and use it. When a plugging’s been obtained, Odin will show up with a sign whose color should be blue.
- After that, add the firmware file to AP / PDA. You need to leave Re-partition unchecked when you see it. Now check only Auto Reboot and F. Reset Time. “Start” is an option that begins the new firmware’s flashing on the Galaxy Note 8.0 GT-N5120.
- When enough minutes have passed, about 13, the phone is going to give you this message in green: “Pass“. Once done, it will start to reboot on its own. When the rebooting also ends, you will have to unplug the gadget from your laptop.
- [sc name=”banner-jos”]Find the new addition to your device by tapping Settings, then clicking on About Phone. If everything’s in order, you will be able to test the Android 4.2.2 Jelly Bean.
If, after these tests, you aren’t content with the new OS, the former ROM can be restored. Simply use the NANDroid backup file from earlier. The update procedure will, unfortunately, become revoked.
If you have questions for us, leave them in the section below.


